1. Seed Starter
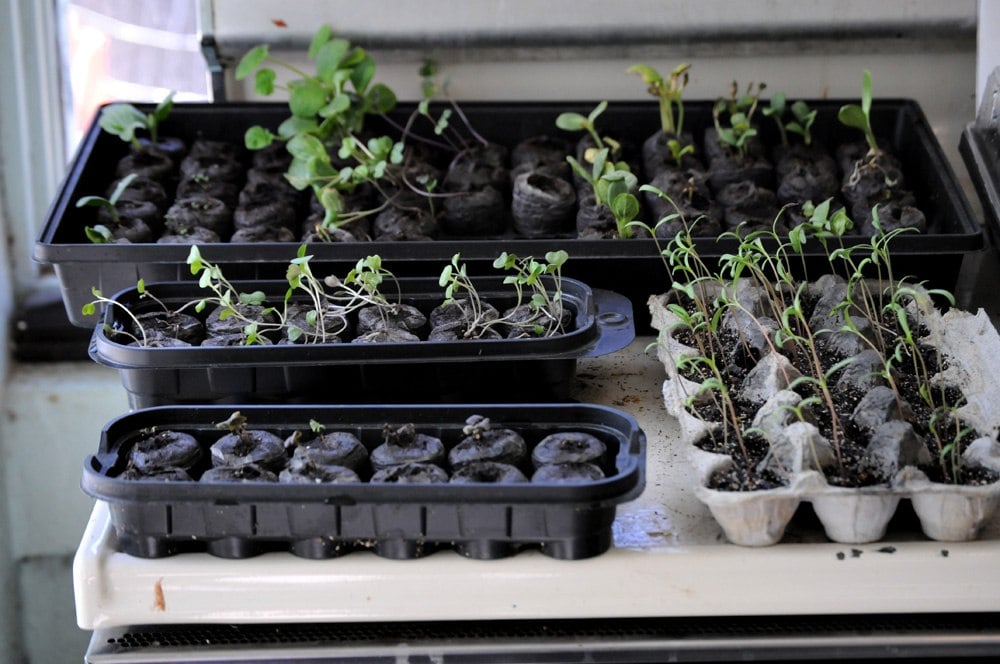
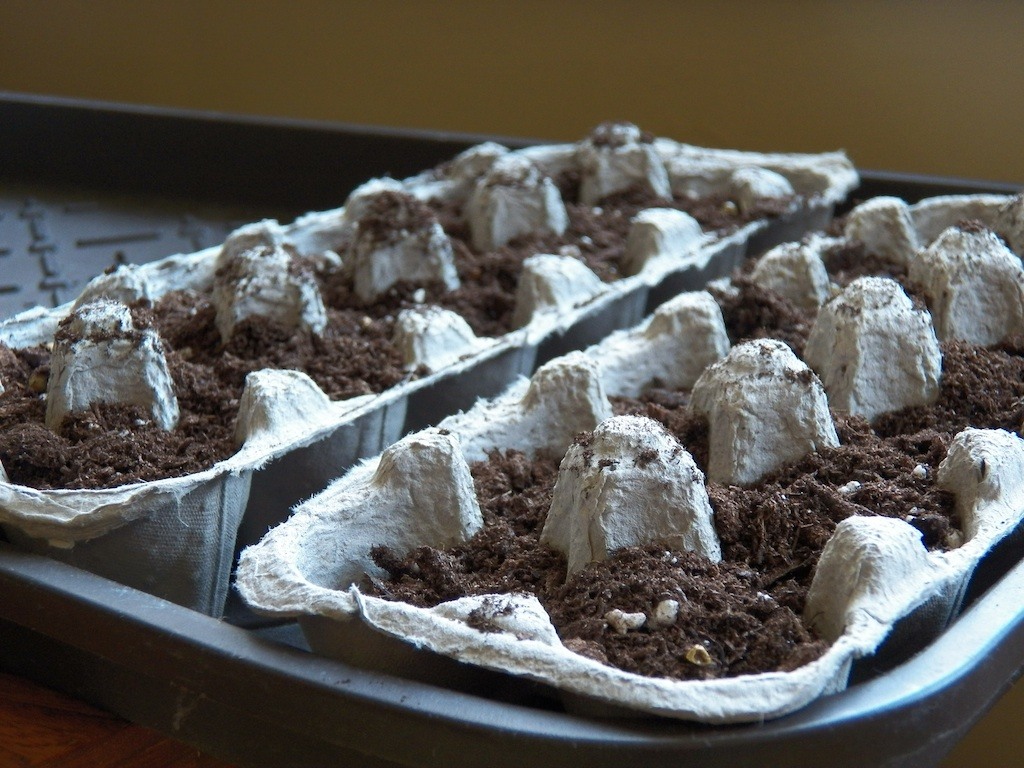
Photo by HDC You’ve likely seen this one a thousand times before, but it really is a spectacular way to start seedlings in the spring. Poke a hole at the bottom of each cup so that excess moisture can drain, and then add in the potting/starting soil of your preference. Dampen the soil with water, poke a couple of holes in each section with the tip of a pencil or chopstick, and drop 1 or 2 of seeds into each hole. Sprinkle a bit more soil over them and put them in a sunny spot, ensuring that you keep the soil damp. You’ll soon have wee seedlings popping up, and once they’re about 4 inches tall, you can transfer them into your garden. You can either widen the holes at the bottom of the cups for root growth and then plant them directly into the earth outside, or you can use a spoon to gently lift out each seedling and plant them individually.
2. Bulb Storage
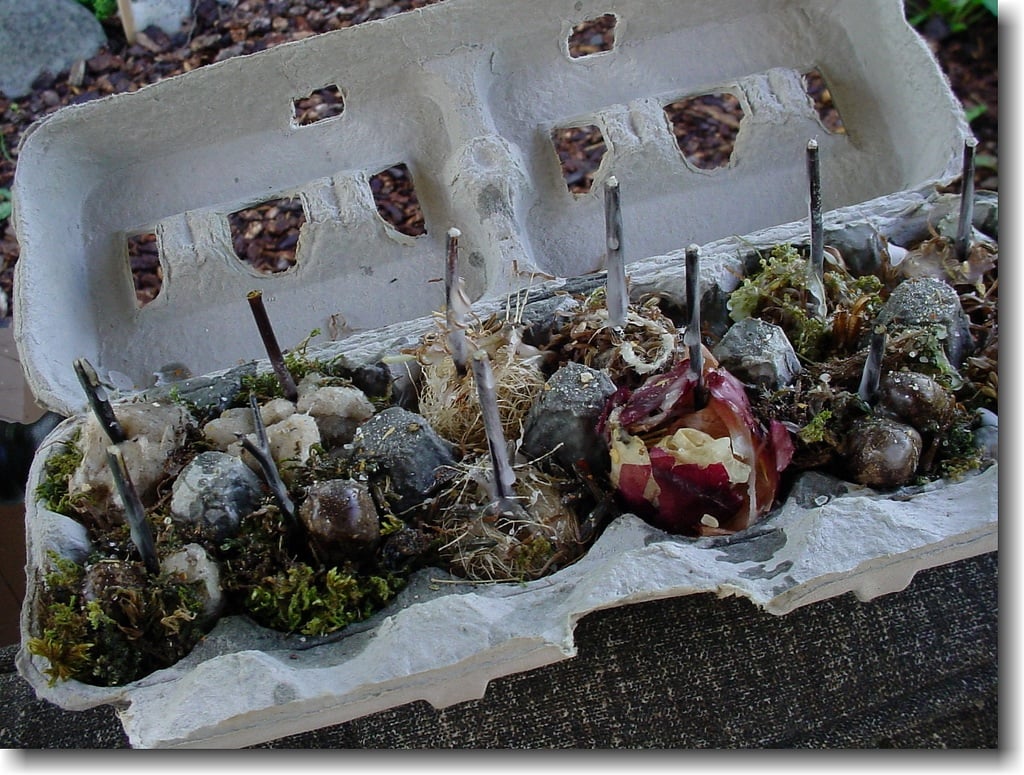
Speaking of gardening goodness, if you live in a cooler zone, you may have discovered that many flower bulbs can’t be left in the earth over the winter, as they’ll die. When you dig up the bulbs in the autumn, you can pack them in these cardboard containers and store them in a cool, dry place until springtime. The containers will keep them separated, and the cardboard itself will draw any excess moisture from the plants so they don’t rot. Place a bulb or two into each cup, and when the carton is full, tie it closed with twine. Just be sure to label the bulbs carefully by adding tags to the string you’ve used to close the container: writing directly onto the carton isn’t recommended because any dampness will make the ink run.
3. Fire Starter Pellets
Photo by Flitzy Phoebie Keep the butt ends of candles that have burned down, and then melt them all together in an old can or pot. Mix together sawdust, wood chips, and shredded paper, fill the egg cups halfway with the mixture, and then pour the melted wax into each egg cup. Once they’ve cooled and solidified, you can break them apart as individual fire-starters for campfires and fireplaces—just light one of the edges and the cup in your hearth, close to the kindling.
4. Floral Lights
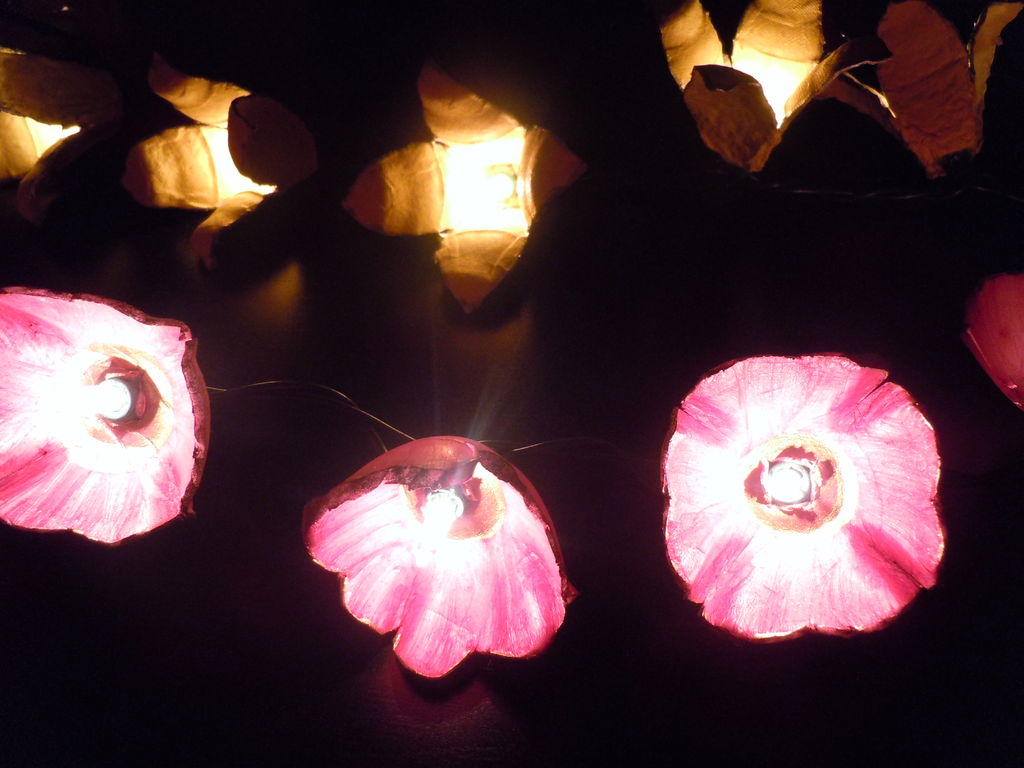
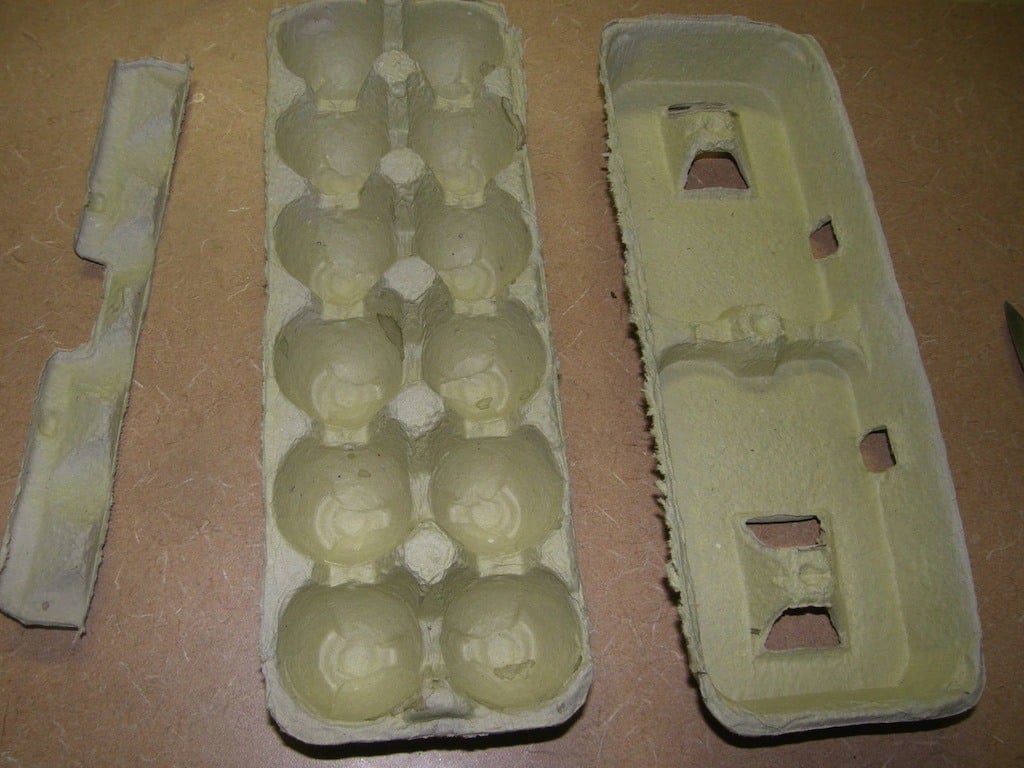
A string of holiday lights can find a new purpose as a floral light set by adding egg cup flowers to it. Just snip the corners of each egg cup to separate each section into a “petal”, and paint the blooms in the shade(s) of your choice. Poke a hole at the bottoms of them, and slip them over each bulb.
5. Worm Food
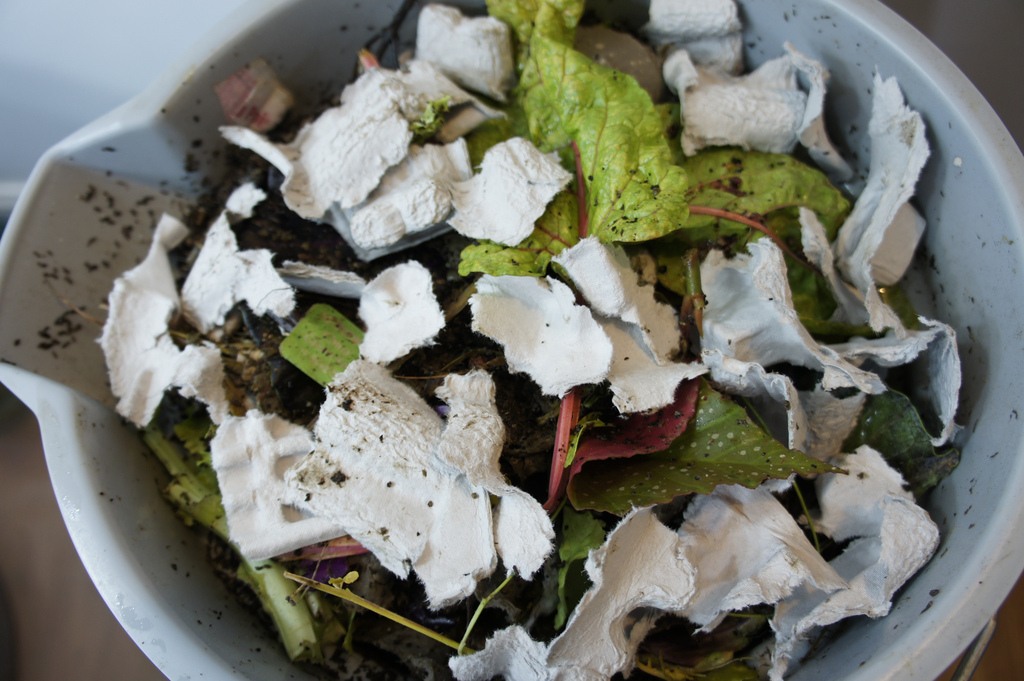
Photo by amymyou Do you vermicompost yet? Keeping a batch of red wiggler worms under your sink to compost your household veggie scraps is a great idea, and they do like to break down paper and cardboard. Tearing up your egg cartons and tossing them to your worm-friends to turn into compost takes care of waste while creating nourishing food for your garden.
6. Shoe Rack Near the Door
This won’t keep your shoes organized, but it can be a big help to keep your floors clean on rainy days or during the wintertime: place the containers flat-side down so the rounded cup bits face upwards. After frolicking around outside, place your wet shoes on the cartons: the cardboard will absorb excess water, and any slush or mud will fall into the crevices between the cups, rather than onto your floor.
7. Mise en Place Cups
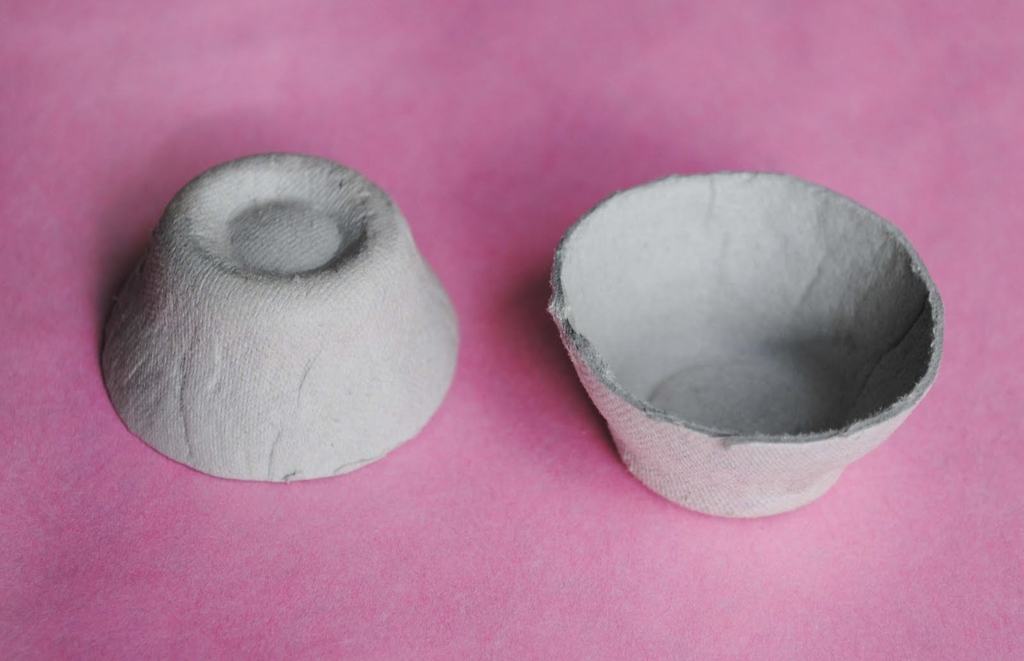
When you’re cooking or baking, there’s generally an array of ingredients that will get tossed into the masterpiece you’re whisking up. Instead of having a bunch of containers around you that will be opened and tipped into the pot as you work, consider measuring out the ingredients beforehand so they’re all ready by the time you begin. Cut the carton cups apart so they’re free-standing, and use them to measure out up to 1/4 cup of dry ingredients, such as herbs, spices, baking powder, etc. Just don’t use them for very runny liquid ingredients, as the cups are absorbent and will throw off your measures. Thicker wet ingredients like cream, yoghurt, etc. are okay.
8. Craft Supply Sorting
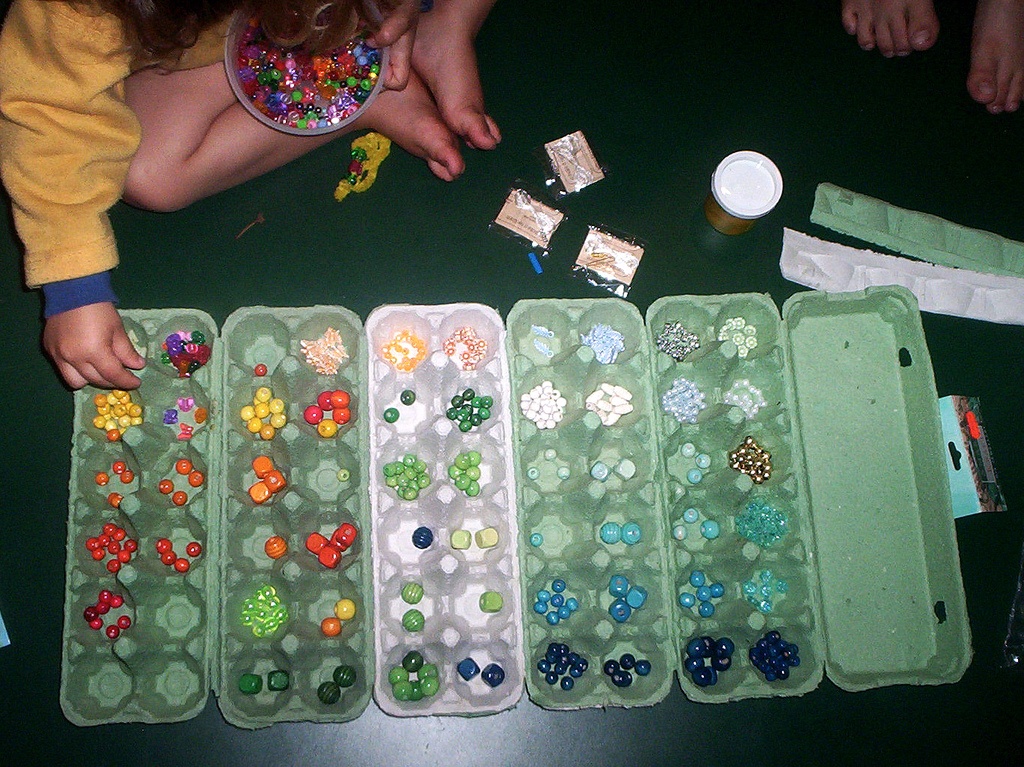
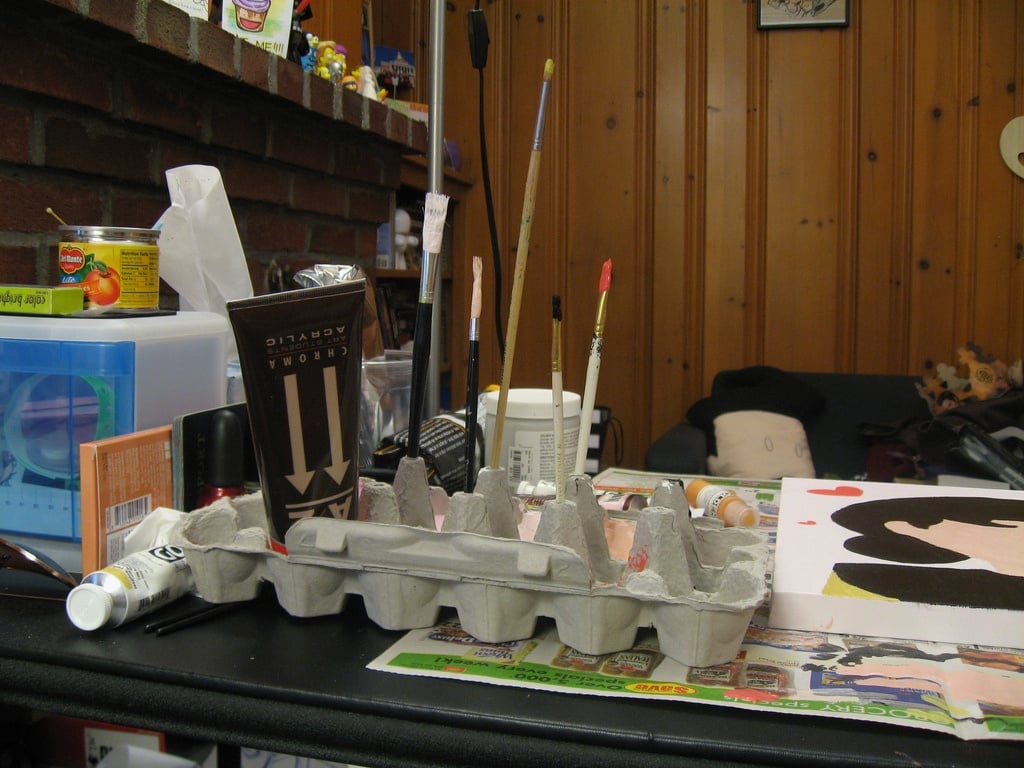
Photo by quadrapop This is great for crafty folks of all ages: those tidy little egg cups are perfect for keeping craft materials sorted as you work on a project. Sort your beads into different sections if you’re working on a necklace; keep your stamps and ribbons handy if you’re scrapbooking; make sure your gems don’t roll away if you’re bedazzling the hell out of a denim jacket. Whatever your means of creative expression, a carton can be your best friend.
9. Paint Palette for Kids
Photo by Jenn Mau These cardboard cartons are ideal for holding childrens’ tempera paints. Just pour a different colour into each cup, give the kid some brushes and large sheets of paper, and let them express their creative genius. Smocks are probably a good idea, as are drop-cloths. And plastic sheeting on the furniture. As a side note, you can also hang onto the eggshells themselves: they’re also great for starting herb seedlings in, and if they’re a bit mangled and crunchy, you can grind them up and toss them into your garden as a calcium supplement for the soil.
10. Jewellery Organizer
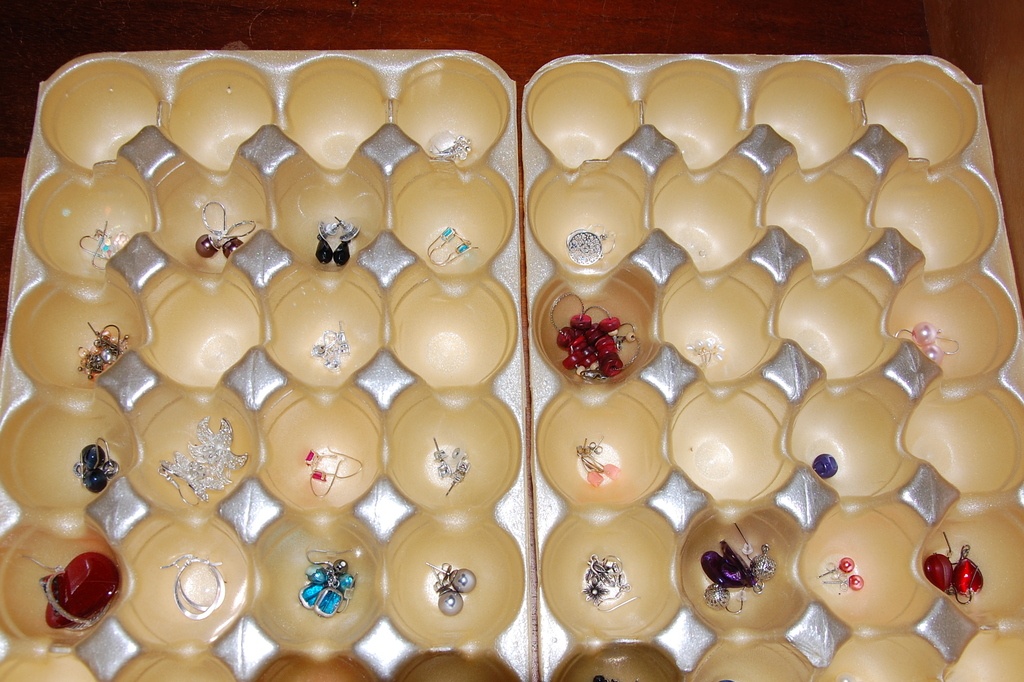
If you find that your jewellery drawer is a complete mess, with necklaces all tangled up together and earrings missing all over the place, just put one of those cartons to good use to organize it all. Once you’ve untangled the chains, coil one inside each cup to keep them separated. Individual pendants can be kept in another cup, and pairs of small holes can be poked in the upper portions of the cup walls to keep your earrings from going AWOL. Make horizontal slices in the tops of the posts that separate the cups and tuck your rings into them to keep them in place as well.
